Why repair your motorcycle saddle with an adhesive leather repair patch?
There are many reasons why you should repair your motorcycle saddle with an adhesive leather repair patch. First, a damaged saddle can affect your riding experience and cause discomfort and even pain. A repaired saddle can make your ride more comfortable, allowing you to focus on the road ahead.
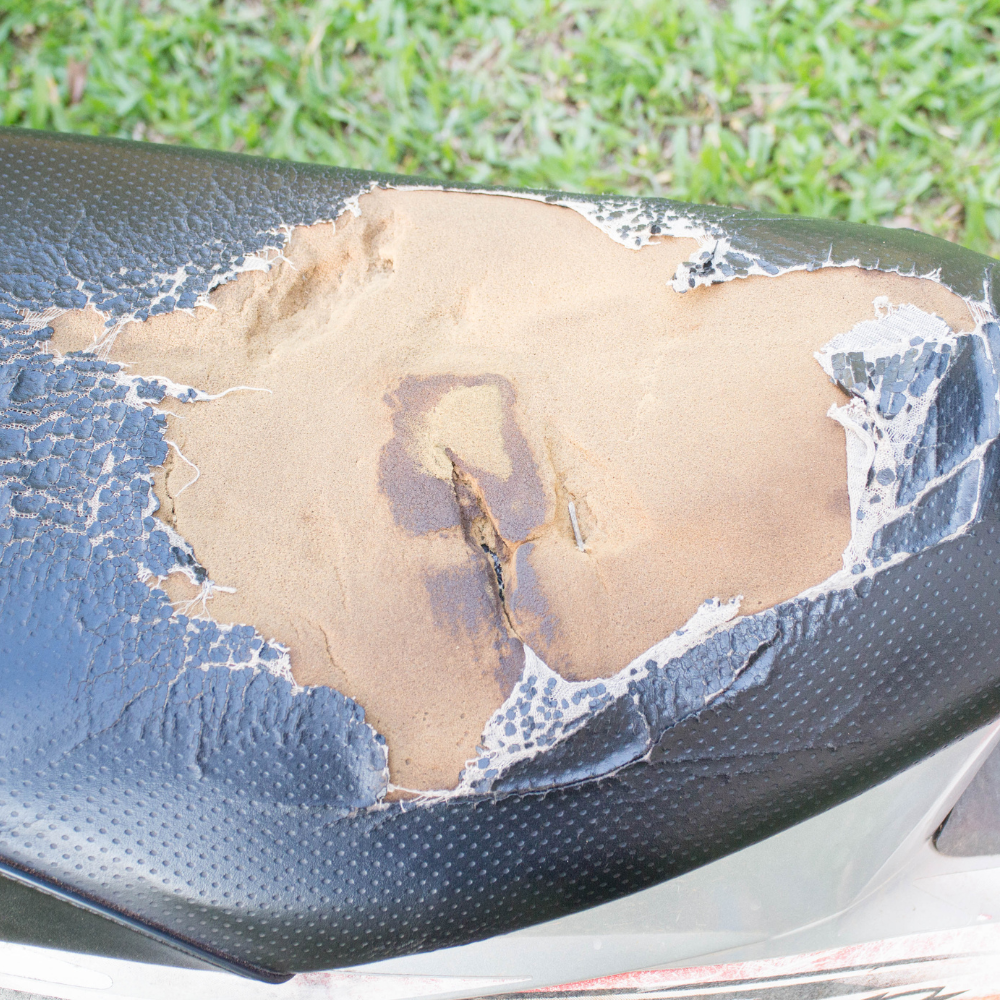
Second, a repaired saddle can improve the overall appearance of the motorcycle. A worn saddle can make your motorcycle look old and worn, while a repaired saddle can give it a fresh new look. Plus, repairing your saddle is more cost-effective than replacing it entirely, making it a great option for those on a budget.
How to repair your motorcycle saddle with an adhesive leather repair patch
Repairing your motorcycle saddle with an adhesive leather repair patch is a straightforward process that you can do yourself. Here's a step-by-step guide to help you get started:Step 1: Clean the damaged area of the saddle with a leather cleaner and allow it to dry completely.
Step 2: Measure the size of the damaged area and cut the self-adhesive leather repair patch to the correct size.
Step 3: Peel off the protective backing of the patch and attach it to the damaged area of the saddle.
Step 4: Press down firmly on the patch to make sure it adheres well to the saddle.
Step 5: Smooth out any bubbles or wrinkles in the patch with a flat object, such as a credit card.
Step 6: Leave the patch on for at least 24 hours before riding the motorcycle.
Tips for a successful repair
Although it is easy to repair your motorcycle saddle with an adhesive leather repair patch, there are some tips to ensure a successful repair:Tip 1: Choose a high-quality self-adhesive leather repair patch to ensure it adheres well to the saddle.
Tip 2: Make sure the damaged area of the saddle is clean and free of dirt, grease or dust before applying the patch.
Tip 3: Press firmly on the patch to ensure that it adheres well to the seat.
Tip 4: Smooth out any bubbles or wrinkles in the patch to ensure it looks seamless.
Tip 5: Let the patch sit for at least 24 hours before riding the motorcycle to ensure it has adhered well to the seat.
Conclusion
Repairing your motorcycle saddle with an adhesive leather repair patch is a simple and cost-effective way to keep your motorcycle in top condition. Not only does it improve your riding experience, but it also gives your motorcycle a fresh and new look. Follow the step-by-step guide and tips mentioned above to ensure a successful repair. Good driving!
Author: M.Haraldsen